
Prerequisites
In order to successfully achieve the goal of this doc, you must first make sure you gone through these items:
On permise Installation
This installation will bootstrap chef server on amazon for you, as with (almost) everything, we will do it using terraform.
Export your keys into env variables
  $ export AWS_ACCESS_KEY=YOUR_KEY
  $ export AWS_SECRET_KEY=YOUR_SECRET
  $ export EC2_REGION=us-west-2
Head over to the cookbook repo,
clone it, then navigate into terraform/chef.
Chef server requires you to set some variables like username, password, organization name and more.
In the chef directory thre's a terraform.tfvars.example file with all the
variables you need.
In order to provision the server execute the next steps
Copy the file in order to change content
cp terraform.tfvars.example terraform.tfvars
Change the data to fit your needs
chef_username = "stackadmin"
chef_user = "Stack Admin"
chef_password = "SomeVerySecurePassword"
chef_user_email = "ops@the-startup-stack.com"
chef_organization_id = "thestartupstack"
chef_organization_name = "The Startup Stack"
domain_name = "the-startup-stack.com"
certificate_file = "chef_the_startup_stack_com.pem"
certificate_key = "chef_the_startup_stack_com.key"
After you have all the data correctly set up, you can continue
  $ export MY_IP=`curl -s checkip.dyndns.org | sed -e "s/.*Current IP Address: //" -e "s/<.*$//"`
  $ terraform get .
  $ terraform plan .
The first part of the command (export MY_IP) is making sure only your public IP
address will be able to ssh into the machine. This is best practice, never open SSH to the outside world.
This command will prompt all the variables needed in order to provision a chef server successfully. When you are prompted to input your IP, you can simply use $MY_IP you exported earlier.
Heads Up! Before you continue applying the terraform config, make sure to look at userdata.sh in order to change the username/password settings to your preferred credentials.
Now that we see that the plan works, we can bootstrap out chef server.
$ terraform apply
This command will do the following
- Create a security group and allow you to SSH into server from the IP address you are currently in.
- Create the instance
- Download chef server to the instance and install it and configure it
Once you apply, you should see the result something like this:
Apply complete! Resources: 2 added, 0 changed, 0 destroyed.

The state of your infrastructure has been saved to the path
below. This state is required to modify and destroy your
infrastructure, so keep it safe. To inspect the complete state
use the `terraform show` command.

State path: terraform.tfstate

Outputs:

  address = SERVER_ADDRESS
As you can see the output is the public DNS for the server we just created.
Since DNS is a "complicated" decision, "the-startup-stack" doesn't really come with any included. In most cases you will have a previously selected one.
All you have to do now is create an A record in your DNS for
chef.${your_domain} that will point to that server.
The server is already configured using the username and password you configured, SSL you provided and it's ready to go.
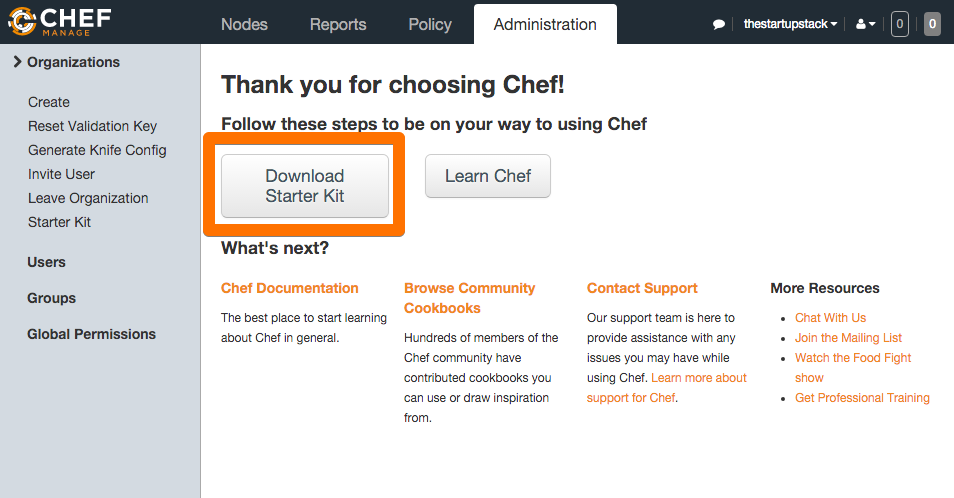
All you have to do now, is download the starter kit and place it in .chef in
the root of the repository
This included keys for chef and a knife.rb that should look something like
this
# See https://docs.getchef.com/config_rb_knife.html for more information on knife configuration options

current_dir = File.dirname(__FILE__)
log_level                :info
log_location             STDOUT
node_name                "stackadmin"
client_key               "#{current_dir}/stackadmin.pem"
validation_client_name   "thestartupstack-validator"
validation_key           "#{current_dir}/thestartupstack-validator.pem"
chef_server_url          "https://chef.the-startup-stack.com/organizations/thestartupstack"
cookbook_path            ["#{current_dir}/../cookbooks"]